Vintage MG Parts - Parts Site for the MMM Enthusiast
Richard's Pattern Making Blog - The Foundry Process
Day 20 - Monday, 17th June 2013:
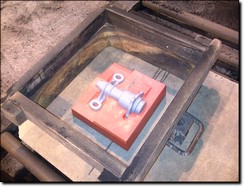 The pattern is placed in a moulding frame.
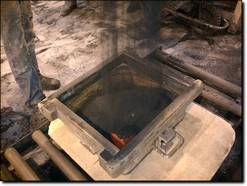 The frame is then filled with sand.
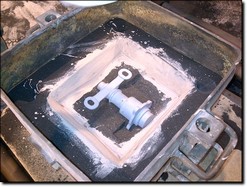 The frame is turned over and the pattern is extracted. The grey part of the pattern is then removed from the red base and placed back in the impression made in the first moulding process.
A second moulding frame is then stacked on the first frame.
Also note that on the outer frame of the sand at 10 o'clock and 4 o'clock, they have scooped a couple of hollows out. These are location points so that the two halves of the sand mould (when finished) will align themselves.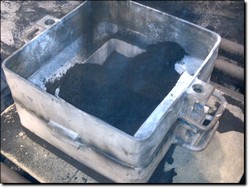 Separation powder is sprinkled over the first sand mould before the second frame is then rammed up with sand.
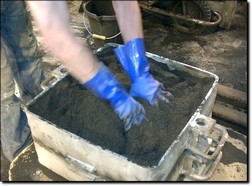 The sand is then pushed around the pattern to make sure it is tightly compacted.
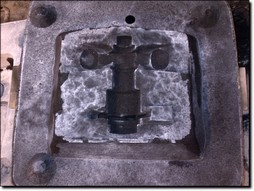 The top frame is lifted off when the sand has cured and turned over. This is half side of the sand mould.
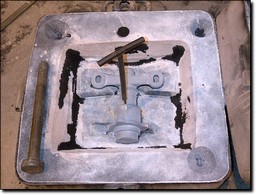 Here is the bottom half of the sand mould and the pattern is extracted from it.
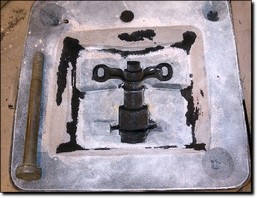 The bottom sand mould. If you think the black section is raised, it's an optical illusion as it is the opposite, believe it or not...
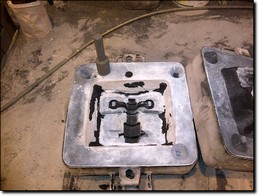 Here you can see both halves of the sand mould. The pattern seems to have moulded exactly as planned so far.
Note the sand core stood on the side of the sand mould.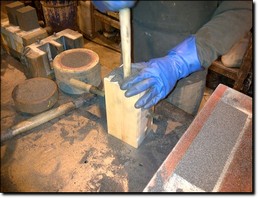 Now for making the sand core. The core box I supplied is rammed up with sand.
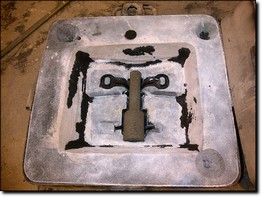 The sand core is positioned inside one half of the sand mould. It is suspended by the core prints and the next stage will be to carefully lift the other half of the mould back to locate on the top of this mould. The molten SG will flow through the void making the casting.
This is a good point to see how the core sits in the mould for the purposes of checking the casting wall thicknesses. I note that i have some excess thickness at the point where the larger diameter on the body meets with the reduced diameter. I may tweak the pattern later so we can save some machining time.
More photos to follow shortly...![]()
Day 21 - Wednesday, 19th June 2013:
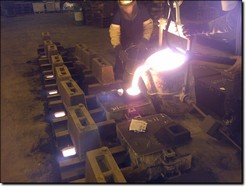 The foundry emailed these photographs through today of this morning's progress.
The original MG product can often be found to have one of the arms welded back on and it was not as strong as it possibly should have been. Also, there is some weight being exerted on this casting with it supporting the engine and radiator. I have therefore decided not to have these made out of any old standard specification SG iron, I have specified a very high strength SG with a specification rating SG 400/18. The '18' denotes the iron being able to withstand 18% of elongation before it will fail. A typical SG grade is a 12% or 14% elongation rating. An 400/18 grade is one of the strongest available.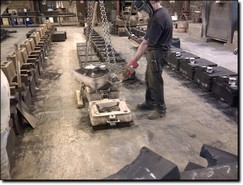 Here, the top half of the mould is lifted off.
Referring back to specification grading, the foundry I use send samples off every two to three weeks to the laboratory for testing. This 18 grade was proofed last week to 23.5% and is credit to the quality of casting work this company produce for Vintage MG Parts and its other customers.
I came across them 20 years ago in my day time job as a chartered commercial surveyor when they were a new client of mine. I immediately recognised their potential use to me as at the time, they were making reproduction 4 1/2 litre Bentley vintage engine blocks.
I had discussions with them about making J type engine blocks but I could not afford the pattern making costs. Costs associated with pattern making is fortunately no longer an issue.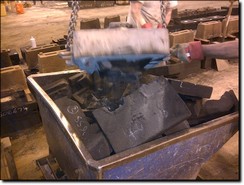 The sand is knocked off the bottom mould. All sand is reused
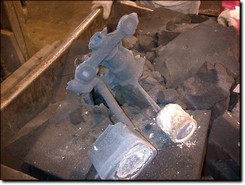 Here is the casting in its rough state
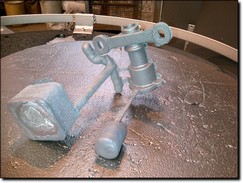 Attached to the casting is the feed or 'in gate' which is the one on the left. the one on the right is the 'riser' and is there to let the air out of the sand void during the pouring process and also serves as an indicator for the foundary so they can see that the mould is full.
Tomorrow I am hoping to collect the sample casting and hopefully they will have had time to cut off the runner system and carefully grind off the 'flash' which is the thin wafer of material which collects around the split joint line created by the pattern. I will also speak to the foundry about any alterations they may wish to suggest to improve any future production process and general finish.![]()